Okay I said was going to post the pictures of my boxes. But then I found out I packed away the battery part to my camera, and left the plug in part to the computer. So I am not going to be able to take any pictures for months. I don't which box I put it in...........oh please don't laugh. I thought I had some type of system in writing on the boxes. Of course six of them are marked S for sewing, but I didn't bother to write down everything in the boxes.
In the mean time I've been trying to find the Elna Exquisit on line.......I'm interested in this machine because it is the same as the SingerXL6000 in that it changes to the next thread. I didn't know that embroidering could be tiring. Don't get me wrong I love watching the machine sew out the patterns. As soon as one color is through my Janome 300 stops and then I have to switch colors. I don't want the singer, as one of my friends has one, and I really don't want the same machine she has, kinda like sewing machine rivalry lol, but in a good way. I just wanted to check out the Elna. As it stands now. I am just down to two working machines. One old.....Bernina 160, and my Janome 7700.
This is not going to be a deal breaker for me.........but three is really all I want, because when I get home there are a lot of sewing clubs and places to go to, and I plan on going to meetups. Already people are planning on what to do when I get there, and I am not going to relax until I get back home. So back to the drawing board.. Also another machine I checked out is the Toyota, which is big in AU, however they don't sell it in the states. It is said to be a real workhorse, and comparable to the Janome 1000. It has very few stitches on it, and that's not really important to me at this point and time. So many choices. I keep checking on Ebay. Really I won't make a choice until around February, that is unless something magical happens. I will be busy until the end of the month, and more than likely will not post again until after I move. So there will be a two week break.
I am going to make really knuckle down and make more posts which will prompt more sewing. I would like to have pictures along, but with things packed up I am going to have to go commentary for the time being.
Followers
Tuesday, November 5, 2013
Saturday, November 2, 2013
Well guess I will let you know the reason I've not blogged anything lately. I am preparing a move back home to Seattle, but in the a town called: Bremerton. I am traveling by train, and there are now so many restrictions about what you can carry on. I will have a room on the train. I have packed up my Janome 7700 and my Bernina is travel case. The agent thought it best that they be in the room with me. I agreed to that, as putting the machines in on freight or where the other boxes would be is not a very good idea.
The last time I traveled by train I had a Viking and the put the machine in the luggage department. When I arrived in Seattle, and after I got situated, I found that the timing was off, and had to pay 100.00 to get the machine back on track. The Amtrak agent told me that the boxes had to be so high and so wide, and not over 50lbs. Well I planned on traveling with some of my pots and pans, but of course you know that the sewing machines are the most important. If the Janome box is to high or wide, I am going to have to unpack it at the station, and carry on. Trying to get your sewing machines to safty is really important. I will take a photo when I am ready to go. I will be leaving on the Nov.20th. At least that is the plan.
It's almost hilarious how people disappear when you say you are moving. When I get back to Seattle, I will be starting all over again for the third time. My saga is long, but to shorten it... my moves: from Chicago (family oriented plus medical) you know how you try to do the right thing for family, and then they don't show and then they get amnesia and have no knowledge of things they promised, and how they were going to be there for you! So I made the right move for the right reason, but for the wrong people! The Minnesota move: fabric locations, and for medical again. I had done my research on medical choices and found out this place was tops in taking care of people of age. That part is true, however the fabric part.........places were closing right and left. So now there are just a few fabric stores. SR fabrics is the only and best place to go. I've never seen a place that is so huge and with such a large array of fabric. On an earlier post you can see me grinning from ear to ear touching fabric. That is the only highlight of my moving to Minnesota, and the rest is all down hill.
So now I am going back to Seattle, and I will be happy to be back home, and wild horses will not drag me out of there. This time I will leave feet first lol! Have other info about more sewing machines. Still searching the web. Talk to you later.
Thursday, August 29, 2013
This is a beautiful brown, most of the time I don't get this color, but I thought I would make an exception. The pants fit perfectly, however I believe this is the wrong fabric, in that there isn't enough give. Also the way the pants fit in the back make me look like I have no behind at all, I look like my behind is flatter than an ironing board. So I was a bit disappointed. I will chalk this up to another learning experience about choosing fabric that has a better drape. As we get older it is apparent that certain kind of fabrics look better on you than they did 25yrs. ago because our body changes. I think I am going to invest in getting knit fabric. Who knew my behind would change so much lol! Well it's back to the drawing board.
It may be that the crotch is too short. Although I did measure and had to add two inches in the hip area, when I find a mistake like this I tend to be hard on myself. I will put the loops on the waist band and blue jean button on. I noticed when I put on a panty shaper the pants look much better, without the shaper the back crotch like it is separating my but cheeks! I know this is not the right description, but I don't know any other way to put it, the only thing that would hide what I can see, and no one else can is a long shirt or sweater that would hide the back seam. Other than that I tested them by sitting and it feels comfortable. This is a Peggy Sagers patter that I call myself altering. Again I will go back to the drawing board. So so frustrating.
Wednesday, July 31, 2013
The quilt was for Avi
This is my great grand daughter Avionne. Last Tuesday she arrived with her mother, and uncle. This child is a character at two months old. This is the one I made the blanket for. I can tell you I enjoyed them, but was ever so glad for them to return home yesterday. One week with a spoiled baby who definitely is running the entire show, make no mistake about it............but none the less her mom loved the blanket. My grandchildren ate me out of house and home, and I think I was wearing an invisible chef hat the entire time. They woke up talking about food. While eating breakfast they were discussing dinner. Too funny.
Saturday, July 13, 2013
Done at last, done at last! Thank God almighty I's done at last!
Finished at last, boy was I glad to be through with this quilt. Have not developed a since of direction, hadn't a clue where this was going to take me. I really had to improvise with this quilt. This as you know is my first quilt. I tell you....I left two safety pins in there and had to take the saftey pin out, and hide it with a letter J that I appliqued. Genius! I was determined I was going to make this work.
This the back of the quilt and it is in flannel. I thought this would be warmer for Avionne. I hope her mother likes this and appreciates the truly hard work that went into this quilt. Sooner or later I will get to the point where things run smoothly, when I know what the samhill I am doing. Over all I am proud of myself in making this quilt. I really had no choice as I opened my big mouth up and said, "oh I will make the baby a quilt" The next time, I will put more focus into detail. Can't say I've not been busy with myself this month. Letting my creative juices flow. Then a brilliant idea came into my mind...........why not make a pillow? Never made one before.
I think I am going to result to applique when all else fails. I decided to just put some stabilizer on the back of the material and then cut out the shape I wanted, "why pay money for cut out pieces of plastic shapes, when I can do it myself? Of course this is my first pillow. What my grand daughter doesn't know............this crafty person, unzipped the pillow from one I already had......and just made the casing. That's all and there you have it! Primarily the work was spent just embroidering the initials and cut out of shapes. Not too shabby. I didn't have any of the lime green fabric left, so I made do with this scrap of fabric. I fixed it so that the stuffing removed. Didn't put a zipper on this,as I had no zippers long enough. So I enveloped the pillow in the middle. That way..........when it's time to wash just pull the stuff out of the case. I'm too lazy to show the back of the pillow. Over all I'm satisfied. Not going to beat myself up, because both items didn't turn out perfect like I wanted them to lol! I'll just do better.
Tuesday, July 2, 2013
testing piece
This just a testing piece of the material before I go on to do the quilt. Boy this is more than a notion. Of course I didn't follow any of the instructions at all.......well let me take some of that back.........I did try to cut out the squares as you can see in the other photos. Alright they are not squares I detoured as usual. I ran out of the material I was going to need to make this baby quilt. So I am making do with what I have..........I was determined to put a teddy bear on the quilt. That is the test bear..........never seen a bear that color, but this also has to do with the colors the design asks for, and I don't have all of the browns. So I have to fudge a little. I will try and finish the rest of the quilt within the next two days. There is no one set pattern that's for sure and I don't have everything down pat just yet regarding movement. This is going to take some practice.
Tuesday, June 25, 2013
work in progress 1st quilt
The first picture is what the back of the blanket will look like, and the second is scraps from a 15.00 bundle I thought these colors would pop out on the lime green. I now know that I don't have enough pieces to make a quilt like design, so I am going to applique these squares, and then embroider the baby's name on the top of the quilt before pinning and making the sandwich. Mind you I have no idea of how this is going to turn out. I have between now and the 23rd when my grandkids com to visit me. Can't call them kids these are adults. So this is going to be interesting. Thank God the infant won't be able to make a comment on the quilt, she has no choice. In the mean time I'm getting a little help from the Janome forum, with some ideas for embroidery. Even though my brother is down for the count, I decided to get the an embroidery only machine........will have to make do with it, and I am getting some help from the Janome forum.
If you have a Janome and you are in doubt, then check the ladies out, on the Janome forum. Plenty of good advice and ideas. I go there for inspiration. Basically I've had more than enough time to do this quilt, but was afraid of failing. Now I don't care about that I am more or less interested in the process. Since I've not done one blessed thing the directions on these quilt videos have mentioned. I ran out of some of the things I needed. That is why this is going to be interesting. I'll get back to my stuff later.
Saturday, May 25, 2013
Just finished with my granddaughters diaper bag, but I have a feeling she will use it for more than that, the bag is made out of canvas and upholstery material, and I finished it with invisible thread. Hope she likes it.
I am a little surprised at the way the bag turned out. You know how you look at something and think it's not going to work, and then when it's finished you go : "not so bad" I will now work on the second bag. My granddaughter decided she wants something all together different.
Wednesday, May 22, 2013
sewing sunshine
Well here is what I've been waiting for: This is Avionne Janae Dillard born on May 10th, she is only 4 days old in the photo. I wonder what this little soul is smiling about, would love to be in that little head of hers. This is my granddaughters first child. I proudly am now a great great grandmother. My granddaughter calls me: Nonnie, and now I am Grand Nonnie. Right now I am working on two diaper bags for her. Have been coaching my granddaughter (Brandis) I wish I could have been there for this precious ones arrival, but was stuck here in Minnesota. Things worked out well anyway.
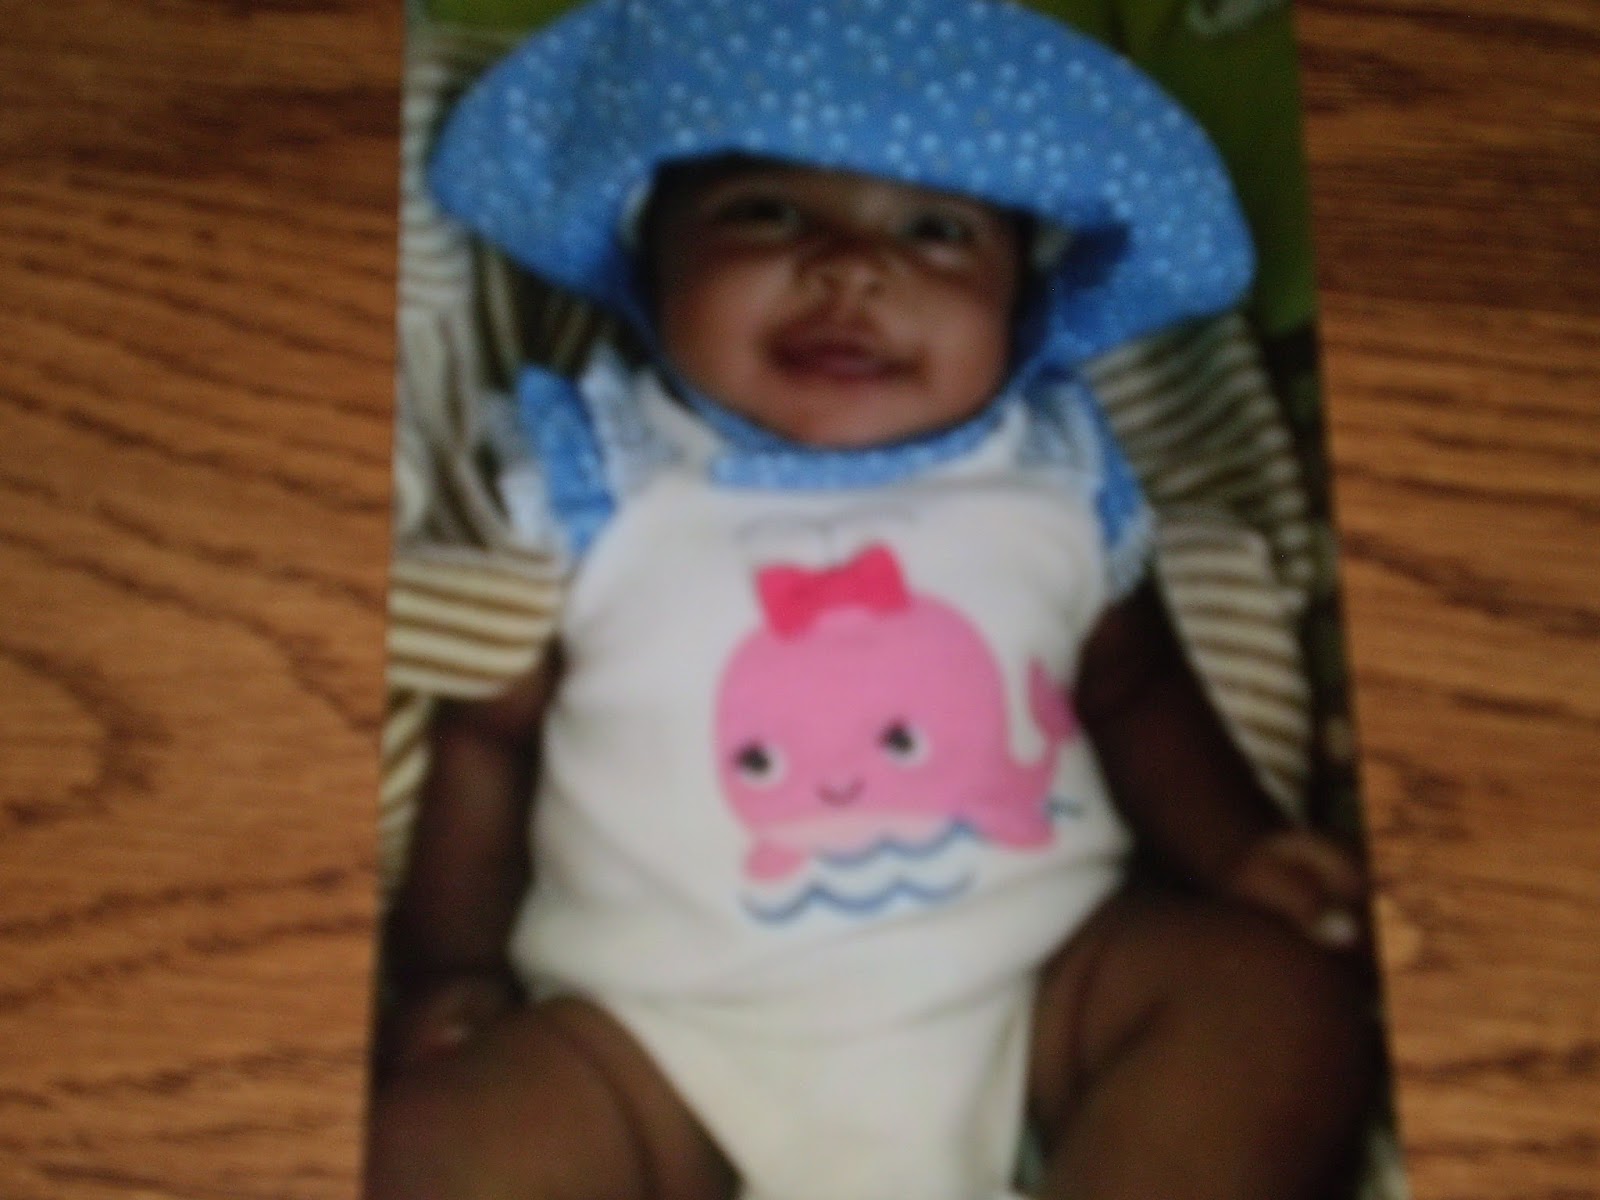
I've not brought baby clothes 40yrs. Suddenly I had to buy a few things for Avionne. By the way I named her, but of course her name was supposed to be spelled another way. My granddaughter liked this spelling, and I explained to her where the name came from, and the correct way in which to spell her name. I told my granddaughter that there is a river in Glouchester, England spelled the same way.........however you know that young people don't listen to a word you tell them. My granddaughter said, "Nonnie you and are the only ones that know that her name has comes from more than one source, but I like the way this is spelled."
I am going to make Avionne a quilt, but don't have all the things I need to work with, and I am more or less thinking about making squared flannel remnants into a blanket. I also didn't know how expensive quilting could be. There are a few more things I have to get before I start on making her blanket. In the mean time I have been taking and watching classes from Craftsy.com. For the time being there are so many things running through my mind about this little one. I am going to encourage my granddaughter to sew, one way or the other and at this time I think it will be the latter. Still bummed out about my Brother embroidery machine. That really was a blow. I will use the two machines I have now, but I really need my embroidery machine. I have a few ideas, at this point it would cost me more to fix this machine, something wrong with the computer part of it, and the machine doesn't even light up........well that's another long story.
Tried sewing a little today, but I can tell that I am going to have to sew for just about an hour. I can feel the tension in my shoulders and neck. At least I got the straps sewn today, and tomorrow I will start working on the bag. Have been going through the blogs looking for some type of inspiration to get my sewing mojo back. It's been a while. I'll let Avionne be my inspiration. One day a time.
Thursday, February 7, 2013
new site in sewing town
I know I've not been on for a while, but Noveember 15th I had surgery on my neck for the third time. So I am in the process of recuperating. In the mean time I am still following blogs. Just signed up to a new site: Sew much talent. Boy is it ever. There are videos, forums, pictures of completed projects. Just things that all sewers would be interested in; and at the same time inspirational. To join the site is free, I don't know if they are going to charge later on, but there is so much information on this site. I will be back in gear some time around March maybe before that.....I have to work on using the muscles in my neck, even if I do start back to sewing it will probably be a short time like an hour, until I can work my way back up.
Wednesday, October 31, 2012
Jeans almost finished
I have been playing around with making these jeans for the past two weeks on and off. I chose again to use semi stretch denim. There really is a trick to using this stuff. I forgot to wash the fabric first and decided that I would go ahead and make the pants. This pair is made without a pattern, I am doing a copy from another pair of jeans I made with no pattern. I really have to muster up the guts to use Peggy Sagers pattern, which I am going to do, that said here is are the jeans almost finished in time for me to volunteer for the sewing expo next Friday. I am also going to have to make a quick blouse or something to go along with the pants. I am really getting to be lazy with wanting to buy something. Every time I pass buy and look at a blouse now........I tell myself: "oh I can make that" of course it might not look like it does in the store, but I will try and get as close as I can to it.
Even though I am going to be a greeter this year, I want to come a little early to look around at some of the vendors. Probably just the same people as usual. All of the good classes were taken earlier in the months. I should have signed up for it then, just slipped my mind I guess. Next year I will sign up early.
Saturday, October 13, 2012
the funny button
Here's the button I was going to force on this jacket. I thought I could trick myself into thinking I was making an artistic statement. This looks like had I worn it outside, someone would have arrested just for the shear heck of it...........like this would be an acid trip gone bad. Some of the things we tell ourselves is just amazing!
right button color
Well I went out to Hancock fabrics, and got the right color buttons for this jacket. After sending some of the photos of the button I was going to try and force on this jacket to look right; against my better judgment. I had a friend make fun of that button so bad, until I couldn't help but laugh, and of course she was right. I even showed the flower button to the guy fixing the electrical socket in my bathroom, because I was still laughing at the email I had received from my friend. He looked at the flower button and said, "wow" now that's bad when you know this man doesn't know anything about sewing or a sewing machine, but his statement told me that my friend was right as well. So, what on earth was I thinking? What told my eyes that I could pull this button off on this jacket? Haven't a clue. If the jacket looks a little lopsided it's the way I have in on the hanger. Tried it on, and it doesn't look the way I had pictured it in my mind.
The button holes were the hardest, because I had to do them manually on my Bernina. The button was to large to fit on the Janome, and Brother. So I had to use my Bernina for manual. I knew that I could make them as long as I needed to fit the button. The jacket over all has a boxy look, and now I look like a Greenbay packer with gas. Sooner or later I am going to make something that looks right, in the mean time I can get away with this, and no one will care except me.
Sunday, September 30, 2012
Sewing machine cover
As usual I got side tracked. I was going to start cutting out pieces for a jacket from Great Copy Pattern, which I was doing. After now knowing that I will not be moving I decided to put up my new sewing table, given to me by A-1 sewing. It's really a nice sturdy table. Then I decided to make a covering for my Janome sewing machine. These are pieces with no particular shape that I cut up to make this covering. I already had made a cover for my Brother, but didn't want to use it for the Janome. Everything has it's place. I am going to continue to keep the old sewing table and put the brother sewing machine on it, then that way I switch to either table. Of course I have to find out where a screw goes on the Brother before I use the machine. Now that I have it cleaned I can start to embroider a few things.
I took the whole machine apart, and put a drop of oil in the designated places. I should have taken the machine apart section by section, but I was trying to follow the photo shown on the sight that describes how to fix you machine. Lesson well learned. Now that I am through with making the cover I will more than likely start on the jacket again. Of course there is also one jacket that I need to finish for the fall.......it is fleece and I would like to put a flannel lining in it, as I think it would be warmer, and I can get away with wearing it during the month of October. I will volunteer for the sewing expo this year, and take some photos. Hopefully I will get a chance to meet Peggy Sagers face to face.
I also noticed that on Craftsy.com that Sandra Betzina will be teaching a course on pants I believe. So far my fall is going to be busy. Still looking for another way to make some bags, that might bring in extra change, however I don't have a set style just yet. Monday or Tues. I will check out Ikea.......they do have some fabric for Pillows and I could possibly make bags as well, but would like to have a lining backing. I am really going to come up with some type of design. But first things first. I am going to get Peggy's dress form as I watched her video on how to add more padding to make the dress form almost to my shape. She suggest that the forms that have the dials are not that reliable, and with taking a padding or adding padding is a more accurate and smoother way to a good dress form. All i have to do is take my measurements. The next step is another Iron. I've really run my Rowenta in the ground. The cord now gets hot, and that's not a good sign. So I will look for another style. More than likely I should have this around the second month of the year.
Tuesday, September 11, 2012
done at last!
If I ever see this fabric again, I will run as fast as I can out of it's path. This upholstery fabric starts coming apart as soon as you cut it. Towards the end of putting the straps on the machine stalled, because the fabric was too dense putting the straps under the machine. So I took out my trusty Bernina, only because I knew that this was going to work better; however I still had the same problem with the density of this fabric. So I partly used the machine, and in the corner of the lining I hand sewed.
Monday, September 10, 2012
This is the bag I'm almost finished with, all I have to do is sew in the lining and put the handle on. This is upholstery fabric. It frays really bad, and I had to double stitch each row at the top for the pockets. The lining is regular cotton with batting. I also decided to hand sew the pocket with a double stitch used in couture sewing. It's a pretty sturdy stitch, and it really keeps the bag from being bulky. The bag feels more sturdy, however even though this bag looks sturdy it just may well be that the threads will not tighten until it is washed. That's a long way off though. I also finished watching the Susan Kalji couture class, but the pattern hasn't arrived yet. I will go step by step when it does arrive, and watch the class again. Now that I think about it, fitting yourself is not all that easy, especially since Susan says it is really crucial that the measurements be exact. Of course this will mean that I have to get some muslin, or maybe a sheet in my case, either way this is a project that you really have to work very closely with, or have assistance.
Thursday, August 30, 2012
I really liked these pants and totally destroyed them. I put the zipper in perfectly, without a flaw. My problem after I put the pants on: they was too much slack on the sides, and I wanted to take some of the slack out, and took the excess fabric out of the inseams. That was the worst mistake I could have made. I took what I thought was a shortcut, and messed up the pants. I should have referred to a book, but hindsight is 20/20. The sides seams now were crooked, and the side seam almost was in the middle of my thigh lol! on the left pant leg. I was so disappointed. So I thought of a way to save the pants, and decided to make them into shorts. It still was not working. So now the pants are trashed. I should have done this the right way, but you live and learn. Other than that I finally got the hang of putting in the fly on a pair of pants, thanks to Kenneth D. King. Had to watch the video again, freeze and then copy what he was doing.
I used a decorative stitch for the pockets, so I will keep this in mind, however I don't think I will use the stabilizer I used on these pants. I really need something that is going to tear away without ruining the stitch. This was a good idea, and I also made the stitch on the pockets at 3.0 which really looked nice, instead of the 2.5. I did the same thing on the sides of the pants and the inseam. It really looked nice. I could have done better on the waist band, but again this is all a learning process. So I will do much better next time.
I really liked the way the pockets came out on this as well. I really don't have the patience to take out the zipper, so I'm a little side tracked at the moment. Found some fabric at a auction for a church in the neighborhood, and brought some fabric for 2 dollars. Each roll was two dollars, and there was more than 2yrds. to each roll. So I decided since I screwed up the pants to make some night gowns, and I really needed those. I wear stuff until it screams: "I'm tired, can you do something else? This is jersey light knit, and this drapes and came out very well. Of course I didn't use a pattern. This came out perfect. No flaws. I just zipped right through it................Why? because this is not what I wanted to turn out perfect, but it did, I wished it could have been the pants. I also got some upholstery fabric, and will make a bag out of that, it's really good and sturdy, will use the rest of my batting, and then find some straps to go with the bag.
Don't know if I will use snaps or a zipper. I don't have a pattern for the bags that I make, I just cut them out on a whim. I'll just go with the flow on this one, but I thought I would take a picture of before and after. Now I'm through with the gowns. I might make a tee shirt to go along with my jeans. Next week I am going to get some pant material, and try again for my structured pants. I will also remember to cut out more than one pair of pants, that will save me a lot of time. The process will still be fresh in my mind from the first pair I make, and then I can zip right through the second pair. The thing I really forgot to do, was make a mock pair of pants from the first two pairs of jeans which came out fine. I forgot to do that, and of course suffered the consequences. So I will remember to get either a some muslin, or I just might stop at value village, and get some old sheets, which just might be better.
If I can find some pieces of pleather or some remnants of leather, that might go with this bag. I'm looking at the colors in the fabric. Of course black is always the best choice. There is also a dark kelly green in this fabric, and some tan. There are handles to buy, but I've always made my own. I may more than likely used the fabric it's self for the handles. Using upholstery before, I know that I am going to have to serge some of it, because it ravels very quickly. I will opt for using the invisible thread so that the stitches don't show on the outside of the hand bang. The lining should be free motion quilted, giving the bag a little more stability, and durability. We'll see how this works out. In the mean time I am going to keep on going.
Saturday, August 18, 2012
The blouse at the top is silk, and it is the kind that wrinkles. It's rather stiff. However I like the way the blouse turned out, should have made it longer. The buttons are shell, although you can't see them in detail. I brought plenty of this fabric, while in Chicago and that was almost six years ago. I will probably wear this with some slacks. I like my shirts to have more give to them. Even though this fabric is light, I had it on for a good 5 minutes fitting, and was sweating my behind off. It was a tad to small around the waste area, could have been squared for the bottom instead of rounded, and using Peggy Sagers style for the lapel facing and front part of the shirt takes up some fabric, so I didn't really allow for that amount. However I can see why she uses this style, as you don't need stabilizer for the front of the shirt, because the fabric becomes the stabilizer. The second blouse turned out well to, just a little snug around the waist. I will have to get some new buttons for this shirt. It was also my first time working with this type of fabric. It should not be used to make a shirt. It is deceptive in weight and in texture.
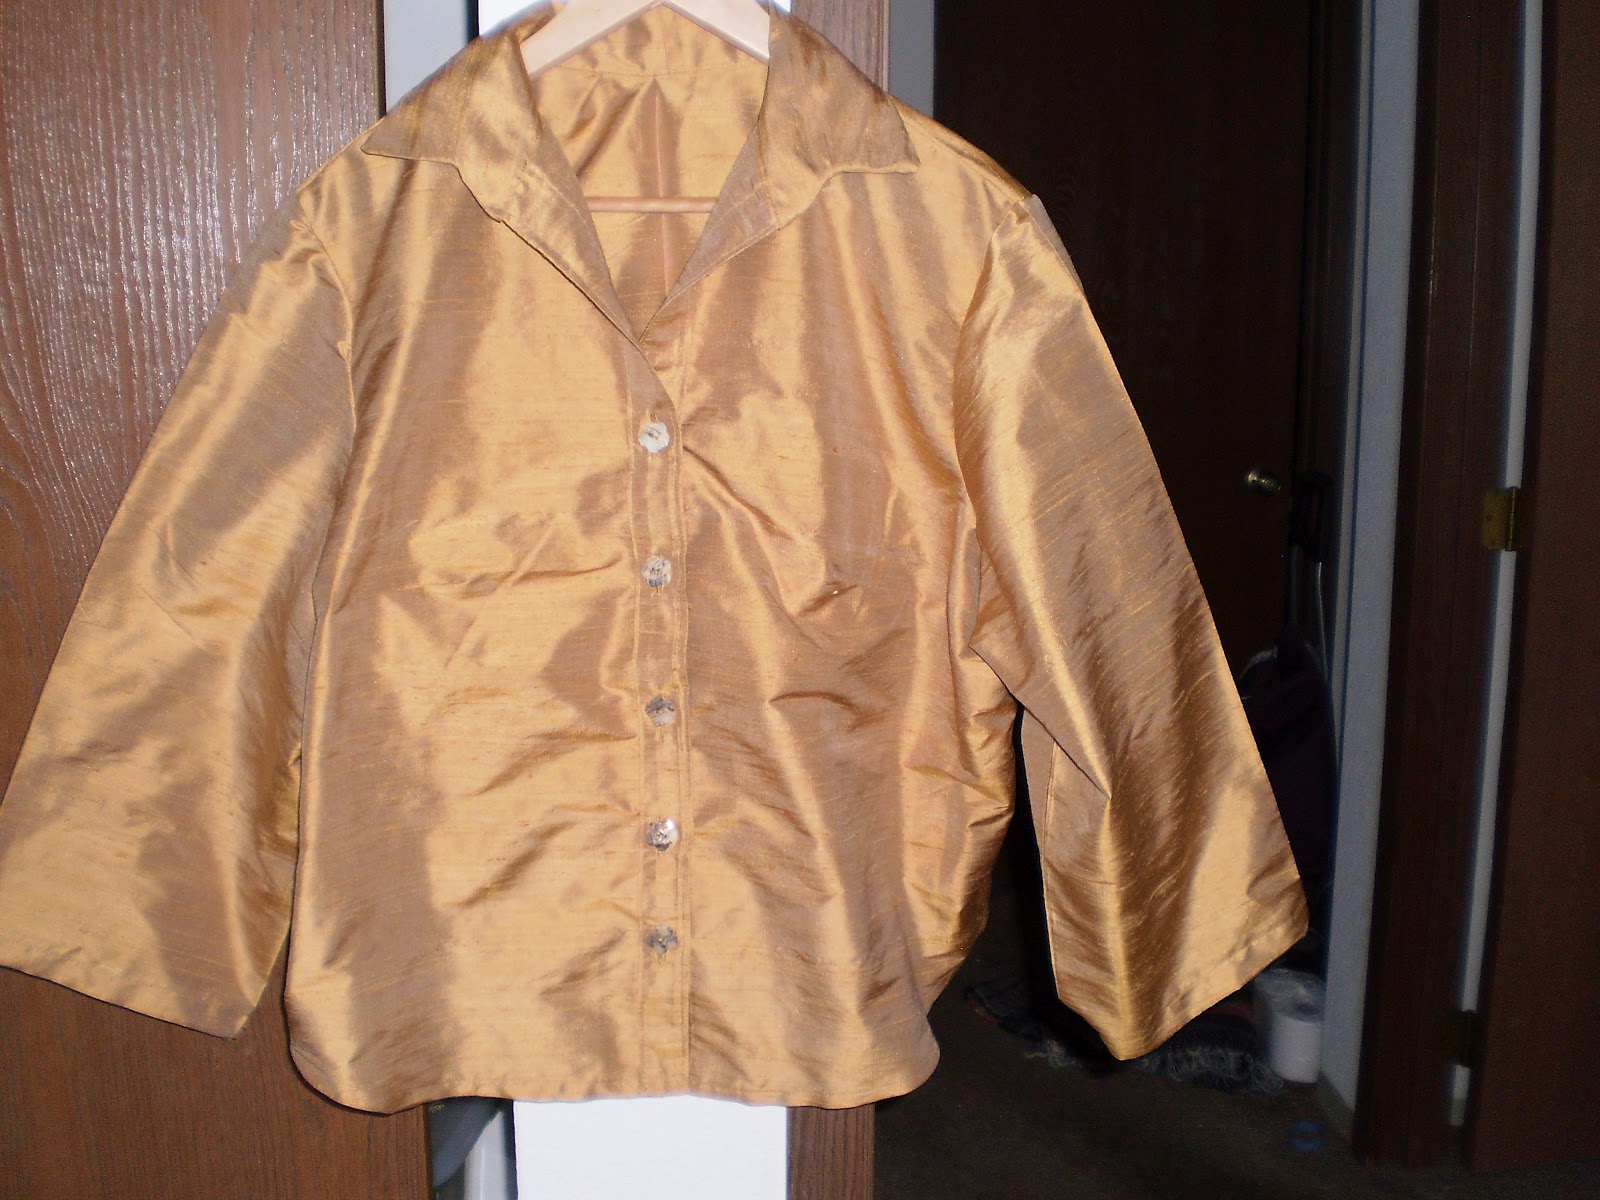
I thought that this would make a good shirt; however it would make a nice jacket, as it is pleather mix fabric. Not easy to sew, and wasn't easy for turning the collar in either, I had hope to make a more crisp point. For the time being I am going to wait until I can find the right buttons for this, also I could have tapered the sleeves a little more toward the end. I can tell that this fabric would make me sweat my behind off. I was sweating just trying it on. It is a nice color. Now I am off to cut the next pair of pants out and a blouse. My stash is really being used at this point. I think after watching Peggys tapes I will have a little more confidence. However if it doesn't look perfect I'm not a happy camper, and especially if I see a flaw in the outcome. I want things to look more smoother. Of course only I can detect this, but so could any person that sews. So this was a constructive Saturday morning.
Tuesday, July 24, 2012
I am happy with the outcome of this, and I really had to use some creative juices. The collar has some batting in it for stability, and using the 3.0 stitching down the center really made this pop. I had to applique the front, because the sweatshirt read: Prince on the left and Peace on the right, since the center covered the "of " it was not going to look right. So I figured that maybe I could get away with applique, and it worked just fine. It looks really nice on, and I will wear this with a pair of jeans. I thought about pockets but I feel it will look too busy. I really need a solid color. I was determined to finish this today. I ran out of frey check so I am hoping that with washing the ends of the applique will turn out just fine. I love the color of perriwinkle.
This is the blouse I was working on. I detoured and did the sweatshirt first only, because things kept popping in my head on how it was going to look. The shirt is a really big mess up, but the only person that knows that is me. It drapes fine, and I will have to fix the center of the shirt, but I will do that later. Now it's on to Peggy Sagers shirt, but I have to get some brown thread first. I will take my time with this shirt and won't rush it, and I think I am going to do what she (Peggy) suggested and cut out more than one pattern. Well this was a productive day. I really hate cutting out patterns, but I once I get my own draft things will be just fine. It always makes me feel good when I've accomplished something. Even though the sweat may look a little raw on the applique it's still stylish. This was my first attempt doing applique. I couldn't figure out how to use the use the button foot for applying buttons. I know how to use the attachment for the button hole foot that measures the button hole, but not the button hole foot. I am going to have to go to Apple Valley to get a demonstration, and hope they don't ask me to pay.
Sunday, July 22, 2012
This is a sweatshirt that I decided to take apart and make into a jacket, I have opened the sweatshirt down the center and will put a border on it. Something tells me though this will not be too flattering on me but I might be able to get away with it wearing a pair of jeans. This is the bottom of the sweatshirt. I just like the colors I guess. One has no way of knowing how something is going to look until it's done.
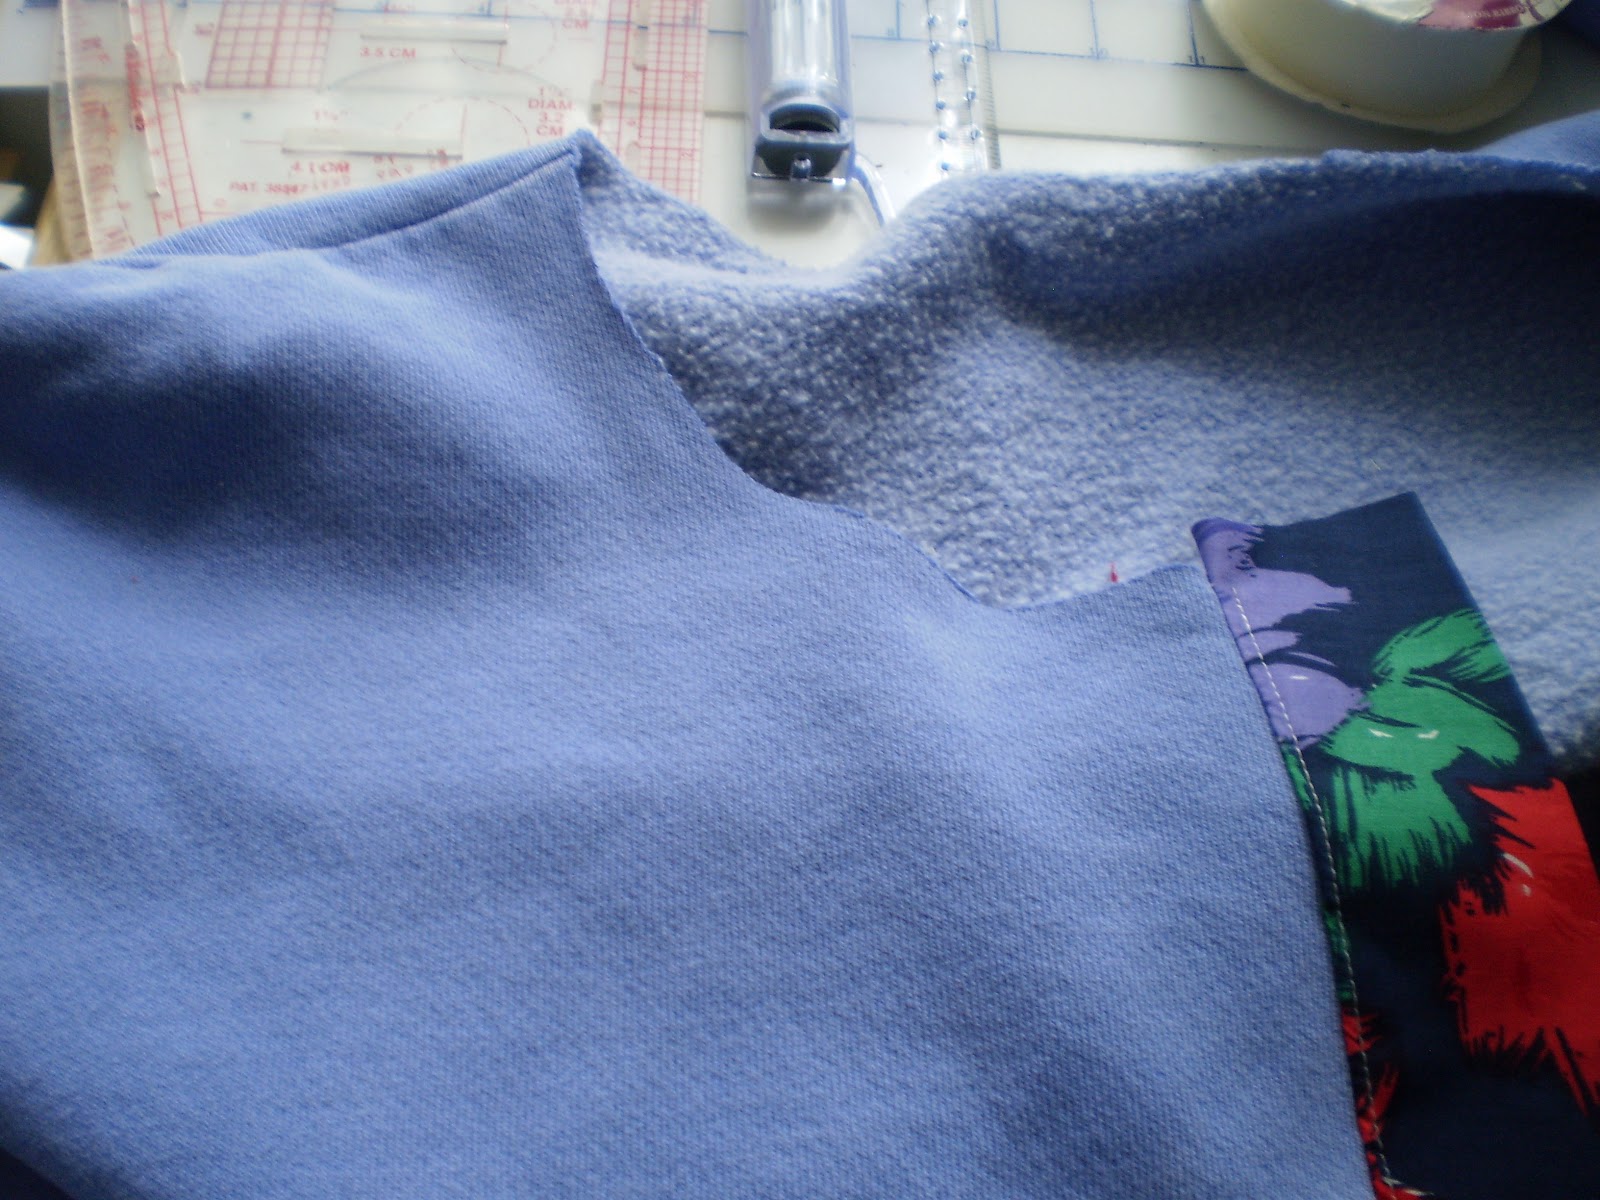
This is the collar, and I will put a border around the neck and overlap the front with a double stitch. I am using 3.0 stitch length to make it look more stylish. 2.5 is a bit too tight a stitch on this fabric.
This is how the front and the bottom overlap in the 3.0 stitch. I am also going to border the sleeves, and then make button holes. I don't know what made me think of this, but it was something to do on a sticky hot sunday. I finished one of the other blouses, and it wasn't the Peggy Sager blouse, however it is wearable and you can't see any of my mistakes. I had to take a part the collar on both blouses as these were not done with a pattern and I under copied the lapel. Making it look too small for the collar once it is turned under. It wouldn't be noticable I just made it look like somewhat of a style. I will probably finish the sweartshirt tomorrow, as I will be in the house with this hot weather.
Subscribe to:
Posts (Atom)